We’ll be here to help if you have any questions. Please follow the simple instructions below to get your Ordermark equipment set up and activated.
Ready to schedule your activation call?
Follow these simple steps to set up your Ordermark equipment!
1. Unpack
2. Connect
3. Activate
1. Unpack your hardware and set it up.
NOTE: You will need to have your restaurant’s Wifi password on hand as you go through the following steps.
Equipment Setup

A – Setup your tablet
Using the power supply cord labeled “Terminal power supply,” insert the four-pronged plug into the terminal power supply on the Ordermark A1Terminal and connect the other side to a power source.
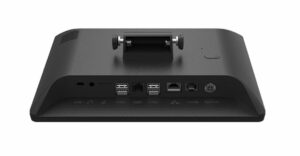
Press the Power Button located on the back of the Ordermark A1 Terminal.
B – Setup your printer
Connect the Printer to a power source with the included power cable.
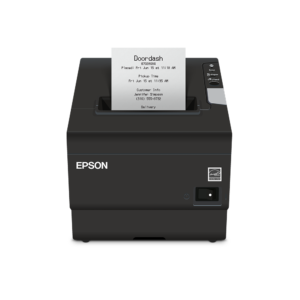
Take the USB-B end and plug it into the back of your printer.
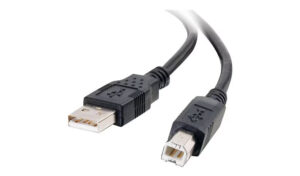
Take the USB-A end and plug it into any of the four available slots on the underside of the Ordermark A1 Terminal.
2. Connect the system to the internet.
Connect the Ordermark A1 Terminal to your wifi using the wifi icon on the home screen.
![]()
![]()
Make sure you are on the Ordermark A1 Terminal home screen and select the Ordermark Orders app.
Please use the credentials provided to log into your Ordermark Dashboard. You should see a Printer Disconnected message on the screen.
Turn the printer on.
A message should appear that says “Allow Ordermark to access com.epson.tm”. Select the checkbox “Always open Ordermark when com.epsom.tm is connected” and press OK.