What’s in the Box?
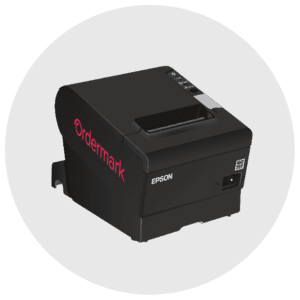
Printer
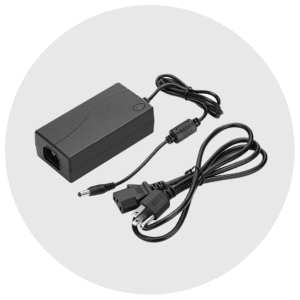
a. Printer Power Cord
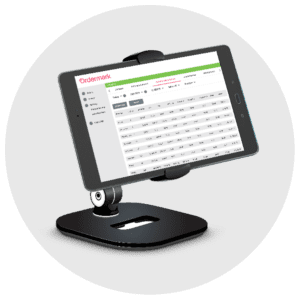
Ordermark Tablet
a. Tablet Power Cord
b. Tablet Stand
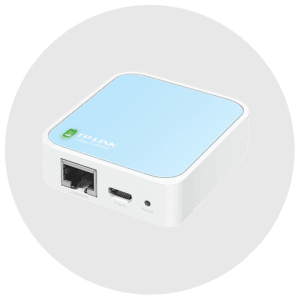
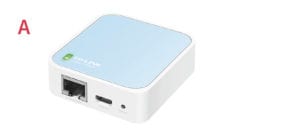
Wireless Printer Module (TP-Link)
a. TP-Link Power Cord
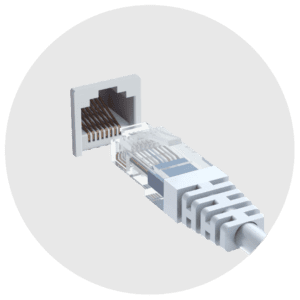
Ethernet Cable

Online Ordering Pick Up Zone Sign
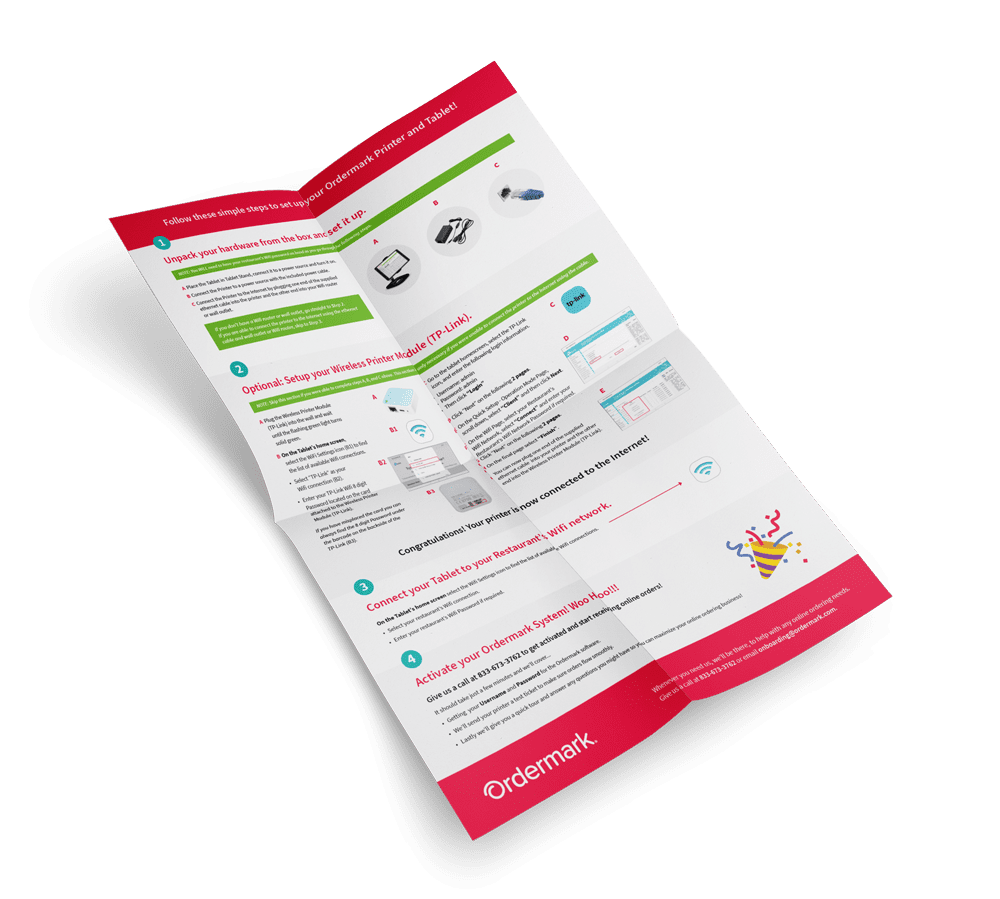
Follow these simple steps to set up your Ordermark Printer and Tablet!
1. Unpack your hardware from the box and set it up.
NOTE: You WILL need to have your restaurant’s Wifi password on hand as you go through the following steps.
A. Place the Tablet in Tablet Stand, connect it to a power source and turn it on.
B. Connect the Printer to a power source with the included power cable.
C. Connect the Printer to the Internet by plugging one end of the supplied ethernet cable into the printer and the other end into your Wifi router or wall outlet.
If you don’t have a Wifi router or wall outlet, go straight to Step 2. If you are able to connect the printer to the Internet using the ethernet cable and wall outlet or Wifi router, skip to Step 3.
2. Optional: Setup your Wireless Printer Module (TP-Link).
NOTE: Skip this section if you were able to complete steps A, B, and C above. This section is only necessary if you were unable to connect the printer to the Internet using the cable. Go to step 3.
A. Plug the Wireless Printer Module (TP-Link) into the wall and wait until the flashing green light turns solid green.
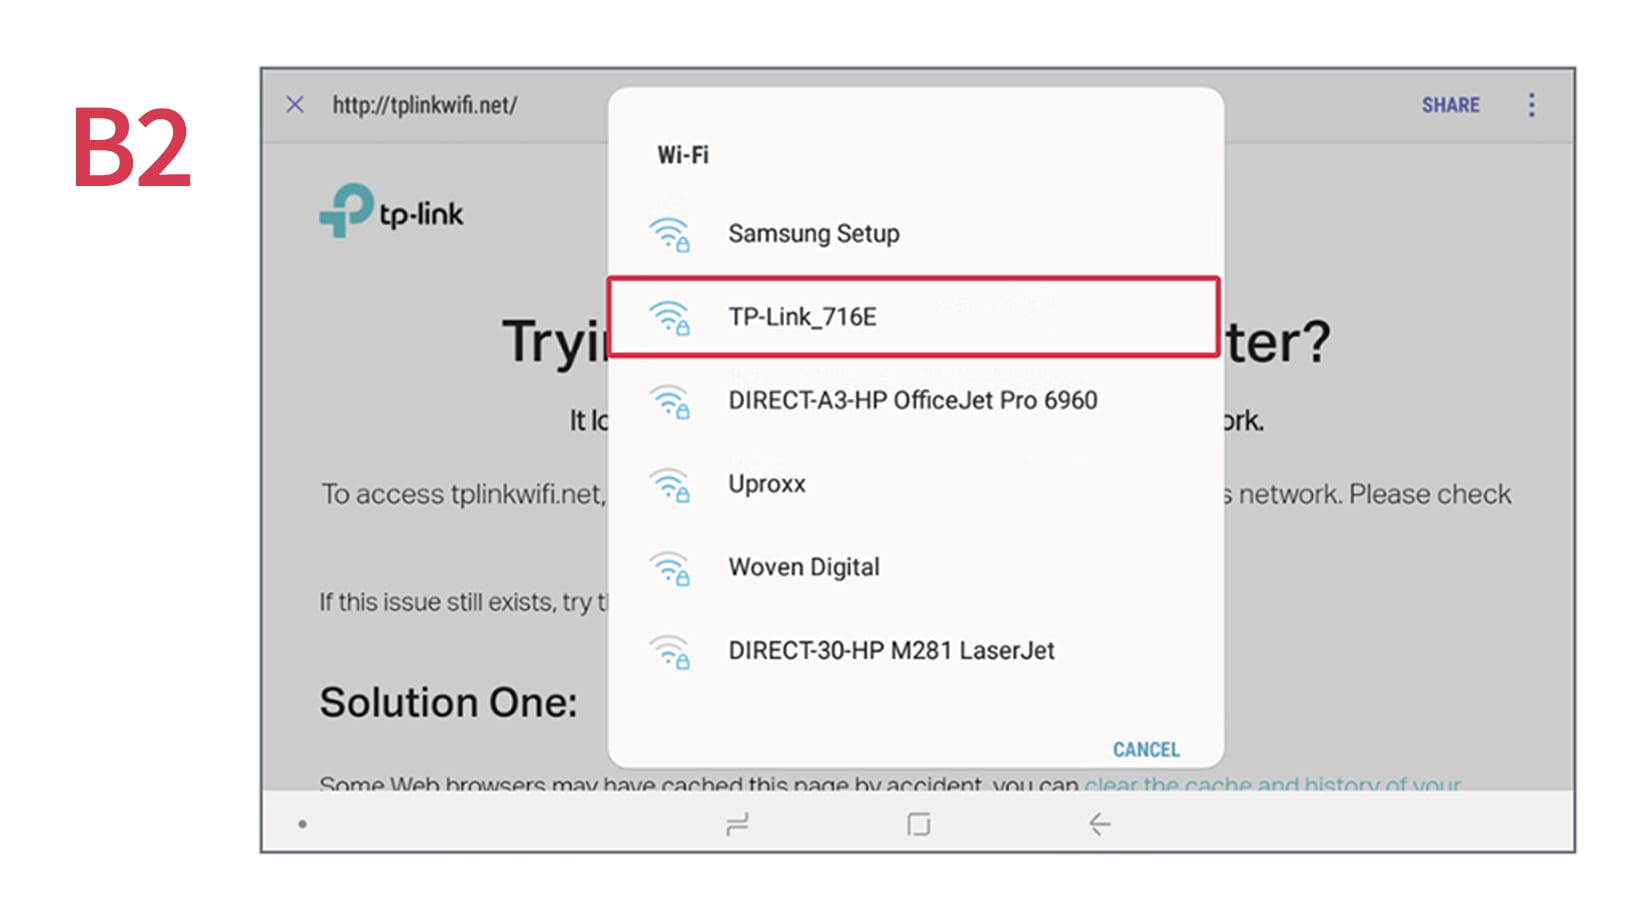
B. On the Tablet’s home screen, select the WiFi Settings icon (B1) to find the list of available Wifi connections.

-
Select “TP-Link” as your Wifi connection (B2).
-
Enter your TP-Link Wifi 8 digit Password located on the card attached to the Wireless Printer Module (TP-Link).
If you have misplaced the card you can always find the 8 digit Password under the barcode on the backside of the TP-Link (B3).

C. Go to the tablet homescreen, select the TP-Link icon, and enter the following login information.
-
Username: admin
-
Password: admin
-
Then click “Login”

D. Click “Next” on the following 2 pages.
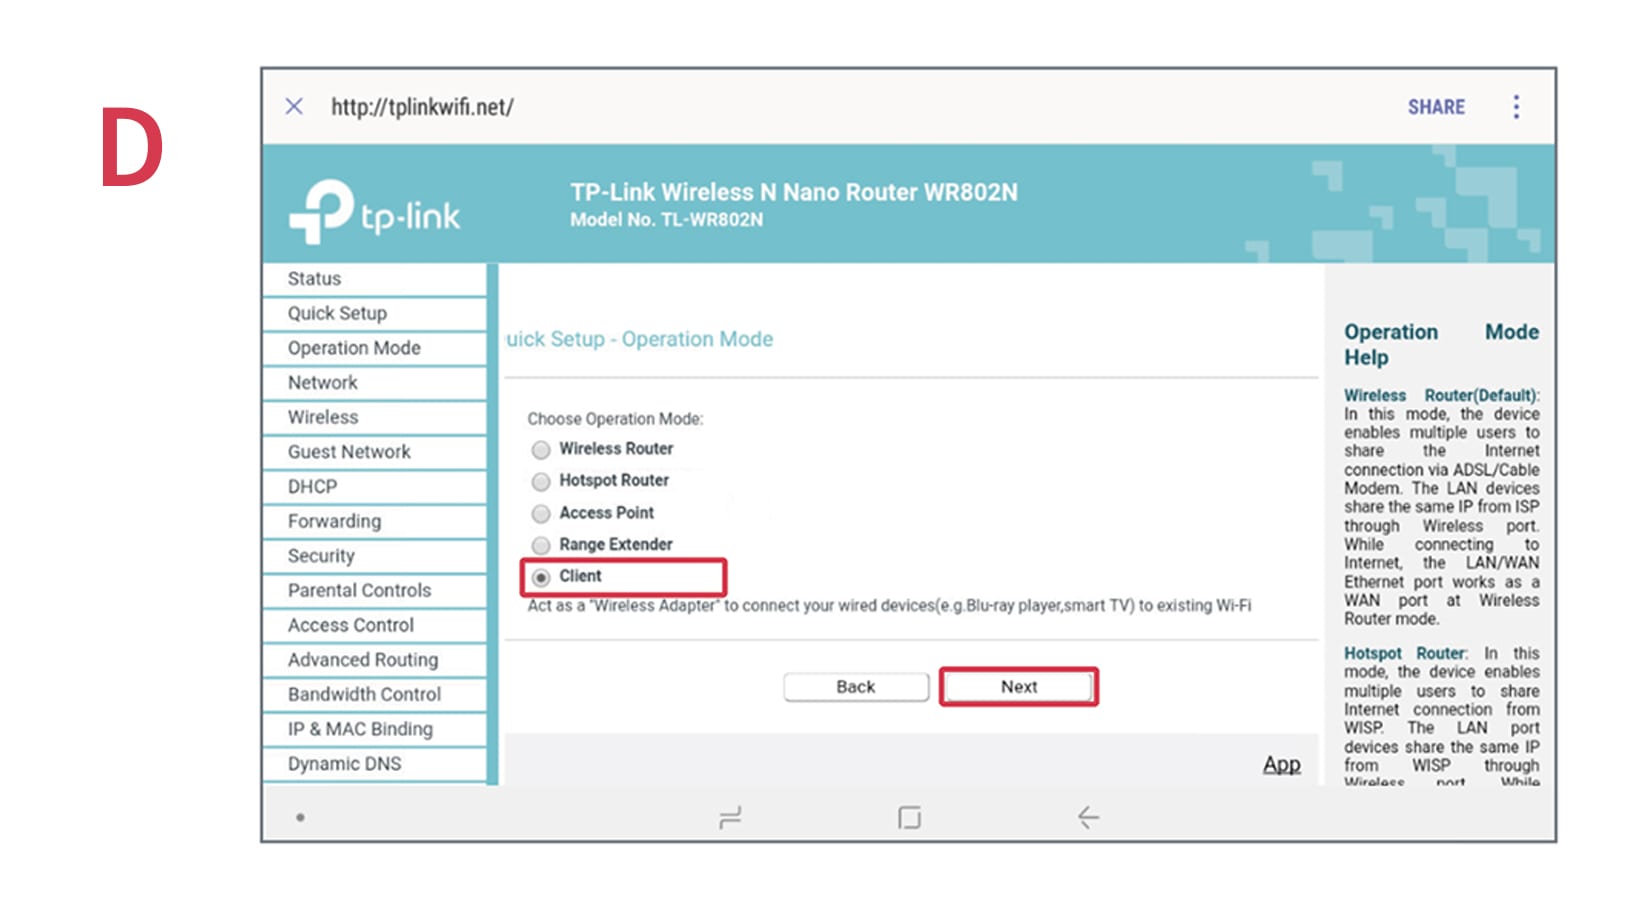
E. On the Quick Setup – Operation Mode Page, scroll down, select “Client” and then click Next.
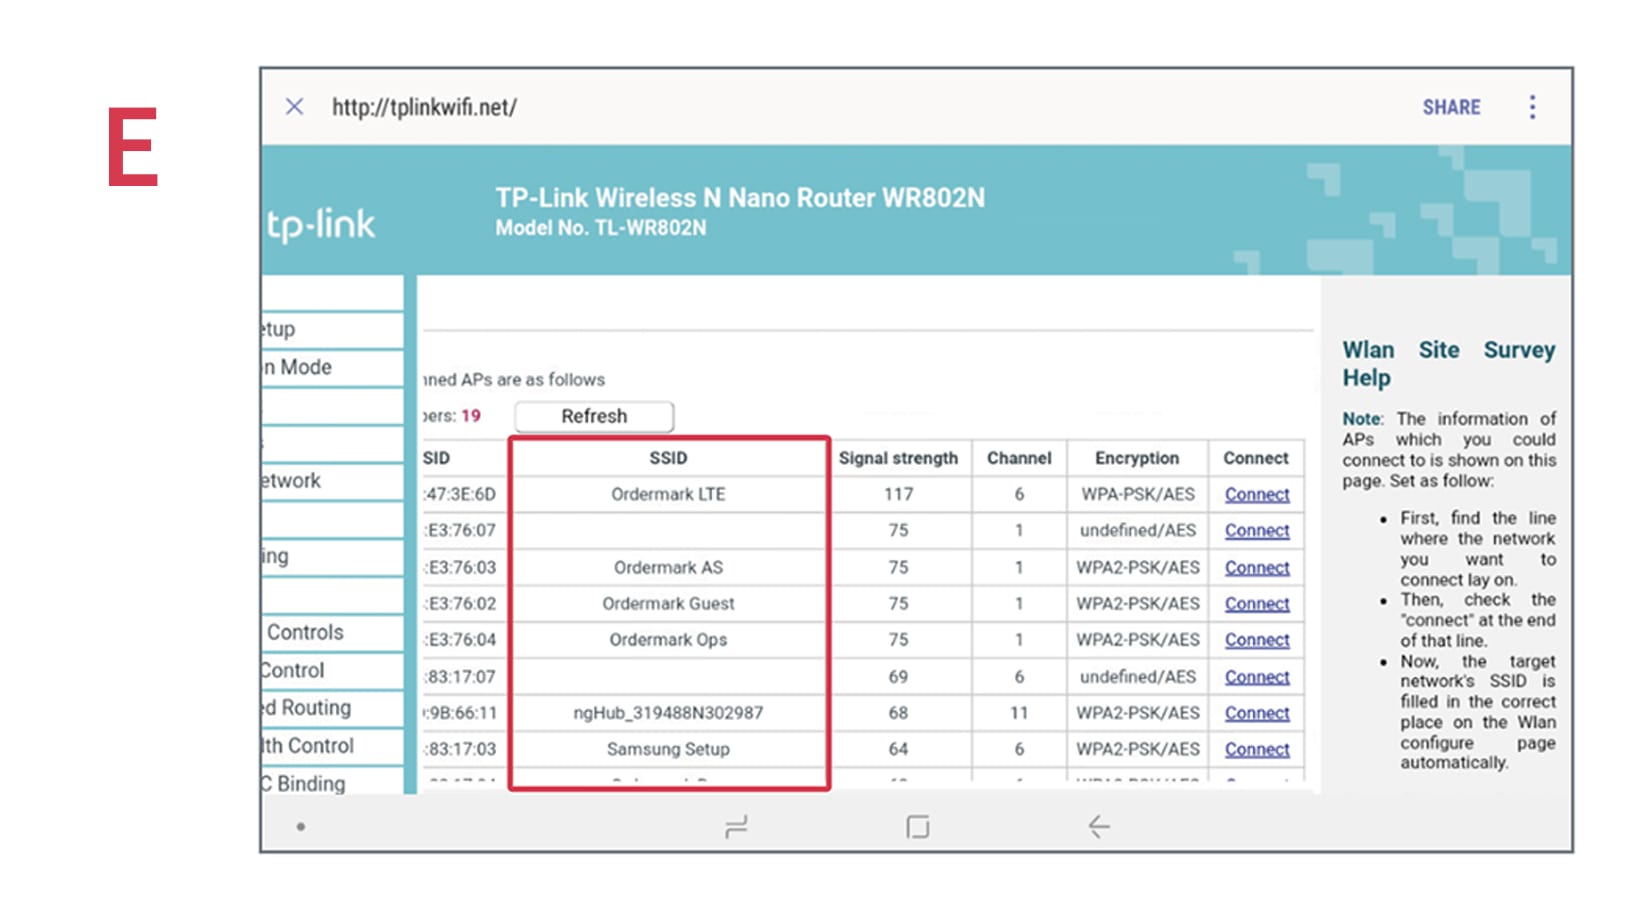
F. On the Wifi Page, select your Restaurant’s Wifi Network, select “Connect” and enter your Restaurant’s Wifi Network Password if required.
G. Click “Next” on the following 2 pages.
H. On the final page select “Finish”.
I. You can now plug one end of the supplied ethernet cable into your printer and the other end into the Wireless Printer Module (TP-Link).
Congratulations! Your printer is now connected to the Internet!
3. Connect your Tablet to your Restaurant’s Wifi network.
On the Tablet’s home screen select the Wifi Settings icon to find the list of available Wifi connections.
-
Select your restaurant’s Wifi connection.
-
Enter your restaurant’s Wifi Password if required.

4. Activate your Ordermark System! Woo Hoo!!!
Give us a call at 833-673-3762 to get activated and start receiving online orders!
It should take just a few minutes and we’ll cover…
-
Getting your Username and Password for the Ordermark software.
-
We’ll send your printer a test ticket to make sure orders flow smoothly.
-
Lastly we’ll give you a quick tour and answer any questions you might have so you can maximize your online ordering business!